Showing posts with label Clothing. Show all posts

Wednesday, January 16, 2013

Christmas Gifts: Studs and Dip-Dye

Last Halloween, I borrowed my roommate's sweatshirt and (with her permission) took scissors to it for my costume. A couple years later, I decided to make up for that. 

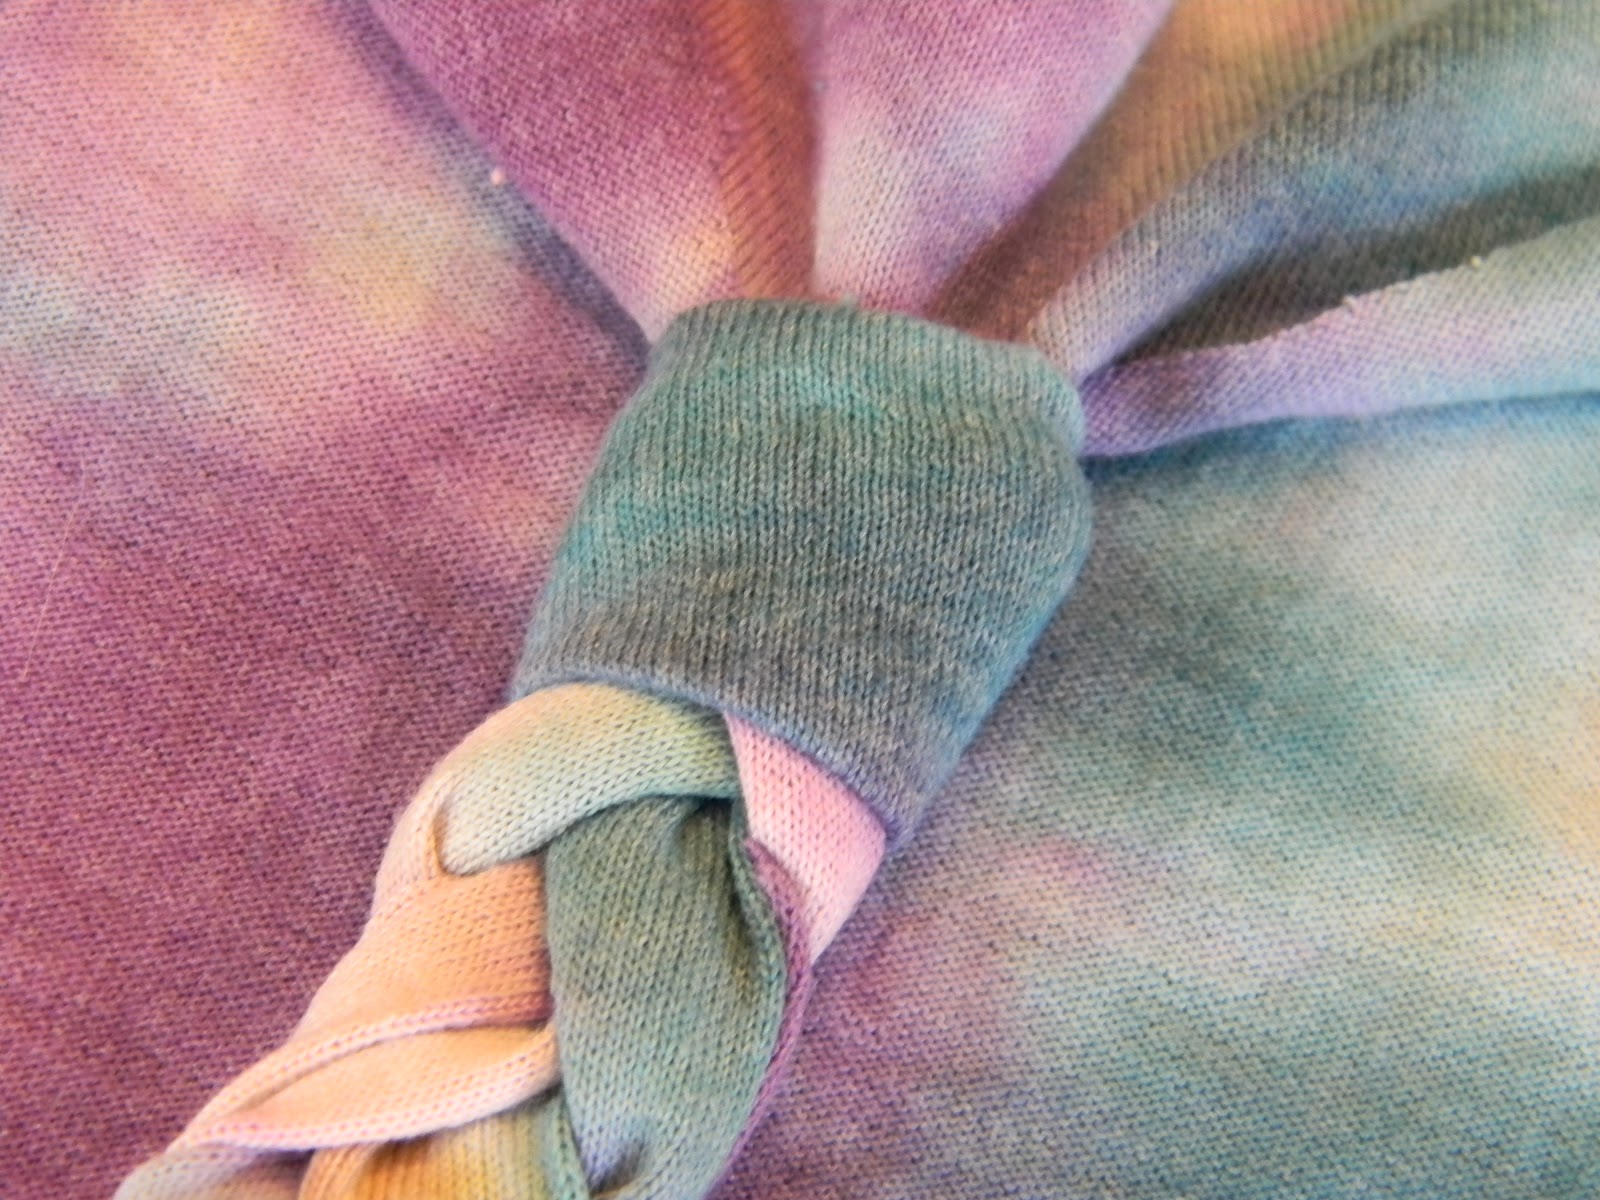
I bought a regular Hanes sweatshirt at Walmart and dip-dyed it with bleach.

Since it's the winter I did this in my bathroom but I should probably have done this in a better ventilated spot.

The bleaching processes took way longer than I had thought it would. I started with a bleach-water mixture but ended with just pure bleach to try to REALLY get the ends. Still wasn't the result I wanted exactly but it worked well enough.

Just bleach. Trying to get the ends more of a "white"

After the sweat shirt had been rinsed through the washer and air dried I started adding the studs. I purchased the studs at Hobby Lobby. It was about $2 for a pack of 30. For those of you who don't know where to find them (like me) they were in the LEATHER section.

The studs were simple to attach. Decide where you want it, poke it through the fabric, and push in the ends underneath (I used a flat head screwdriver and it worked great)

FRONT

BACK

Now I just need to make me one!

Much love, 
Katie

Monday, July 23, 2012

Braided Tank


 Materials Needed:
  • Old T-Shirt--I used one I found in a free box at school
  • Scissors
  • Needle and  Matching Thread


Cut off the sleeves of the t-shirt. About 1 inch under seam is good. Once you have the first sleeve cut off, you can use it as a template to cut the other one off.


Extend the holes cut on the BACK OF SHIRT only. Making the shirt into more of a razor back.


Cut off the collar. About 1 inch below.


Cut straight across the razor back. Now there should be a flap on the back of your shirt.


Cut the flap into three section for the braid. Pull the strips a little to make them a little neater and easier to braid.


Braid the three strips. Using the needle and thread, sew the ends of the braid together. 


Find the middle of the collar and sew the braid to it.

Take a strip, about 1 inch wide and 3-4 inches long, from the extra you have cut from the shirt. Sew one side to the back of the braid. Wrap the strip around the braid and sew the end. This works to make it look neater and give it an overall cleaner look.


Much love, 
Katie

Monday, July 16, 2012

On the Fringe


Reeling from my Coachella post I decided to make my very own FRINGE shirt.


 Materials Needed:
  • Old Shirt (I used one of my plain Hanes shirts from Wal-Mart)
  • Ruler
  • Pencil
  • Scissors  
Once I had my materials gathered, I got to work:
  1. Measure how high you want the "fringe" to be. Draw a line all the way around the shirt at this measurement. I measured from the bottom but you can measure from the armpit too.  My measurement was 7in from the bottom.
  2. Once you have the length measured, use the ruler to mark out the width of each "fringe". I made each 1cm.
  3. Draw lines from the from the height to the bottom of the shirt to use as a reference when cutting. 
  4. Cut off the bottom hem.
  5. Cut along the lines drawn for each "fringe". Make sure to stop at the height line so they are all the same length.
  6. (Skip to 9 if you want to leave shirt as is) Cut off the sleeves. 
  7. Draw how you want to collar to be and cut along line. 
  8. Trim the sleeves/collar to the desired width. Use the ruler for extra help.
  9. Wash to remove remaining pencil marks.
  10. Once dry, wear and ENJOY!
BEFORE


AFTER


Much love, 
Katie

Tuesday, April 24, 2012

Prepare Yourself

Being stuck at school for a few more weeks, I am a little limited in what I can do DIY wise. I left my sewing machine at home (not much room in the dorms) so I have to come up with stuff that requires minimal to no sewing.

I have already posted the two purple dresses that I plan on "editing" when I am reunited with my sewing machine. But I wanted to share what I am planning on creating as well as what I am currently making.


These are only a few of the many DIY ideas running through my mind. I'll post these as soon as I can. I also have some Crafts and Jewelry I'm completing so those will soon be posted for everyone to see. 

Less than a month to graduation, summer, and being reunited with my sewing machine

Much love, 
Katie


Wednesday, April 11, 2012

Service Center Finds

Made a trip to the local Service Center! Found these two dresses along with a shirt, skirt and top combo, a bit of fabric, and some zippers all for under $10 (I was definitely a happy camper) I have so many ideas on how I am going to make changes to these items I feel like my brain will explode! I can't wait until I am back with my sewing machine!  
Aahhhh! Counting the days!! I'll be sure to post my refabs for everyone to see.

Plum/Maroon Floral Dress $2
Purple Dress $2

I know the pictures aren't the best quality. I left my camera at home so I had to make due with my computer's camera. I'll post better ones for the refabs!

Much love, 
Katie